
Let customers speak for us

The topper is great, the best topper I ever had I loved it is everything that I ever expected, super light the inertia is at minimum and it improves movement a lot best topper ever thanks for make it happen

I was worried that the stick was a lemon because the top buttons would not work for start and select, but it was fixed after some tinkering on the GP2040 site. The wood top panel is a work of art, and the lever feels smooth in motion. The best parts of this stick are the buttons. These are the best feeling and sounding buttons I have played with. I have used Sanwa, Qanba Gravity KS, and Haute Crystal switches and while those are good, these Enth buttons really are the most pleasant to press and hear. I now regret not picking up one of the PS5 compatible Atlas Slims when they were available and hope the shop will reopen soon.

Excelent products and service as allways.

とても実用的で高性能なアーケードコントローラーで、デザインや形状が本当にクールでかっこいい!!
KRMボタンの押し心地は最高で長時間のゲームプレイでも疲れることはありません。こんなに素晴らしいアーケードコントローラーをこの良心的な値段で手に入れられたことを感謝しています。

かっこいいからみんなつけてみて!
I’ve been following ENTH Creations for some time now and was already aware of their products as the KRMs are a godsend of a button. But I wasn’t prepared for the ATLAS slim. I mean I knewI was getting a quality controller but even this exceeded my expectation. Extremely comfortable, incredibly responsive and acoustically satisfying.And the artwork finish is nothing short of breathtaking. I can’t wait to take this out to a tourney and get asked all the questions about it so I can spread the news about this product and company.If you want quality then you want ENTH. They’re one of the few this much is for certain.!

I wanted to try krm by long time, ordered them but the manufacturer suggested me to try clicky switches. In doubt I convinced myself to try them. Got free shipping code free ball top and 8 linear switches with 8 plungers if I didn't like the clicky ones. I got served like a king. Needless to say they are outstanding, feel very premium and clicky switches doesn't compromise actuation speed at all. Recommended

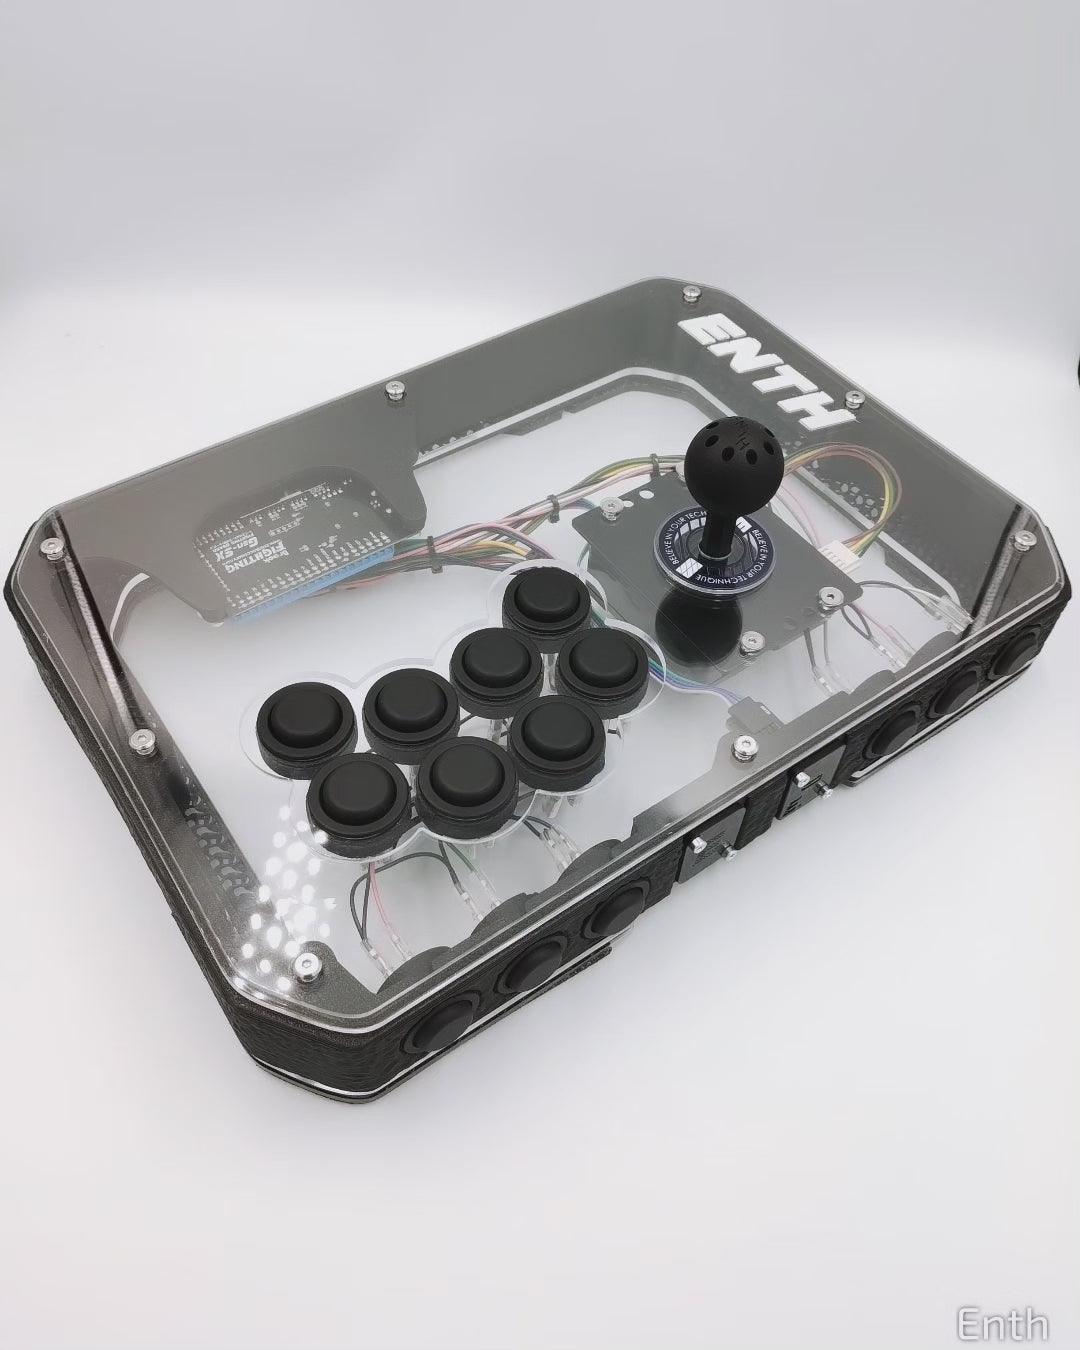
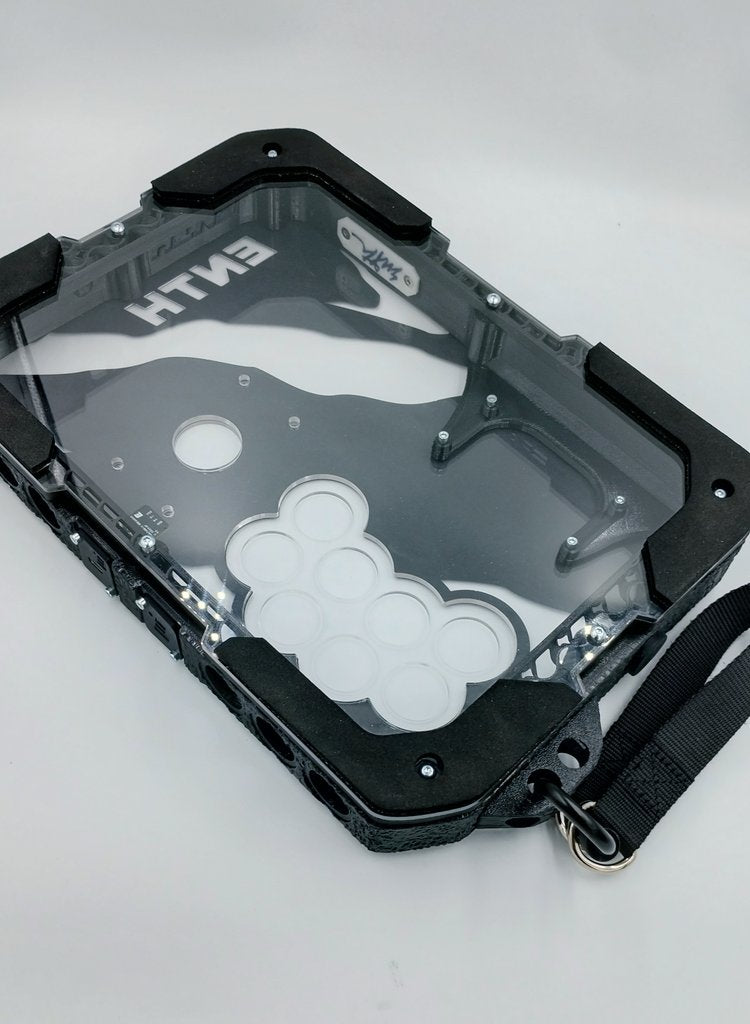
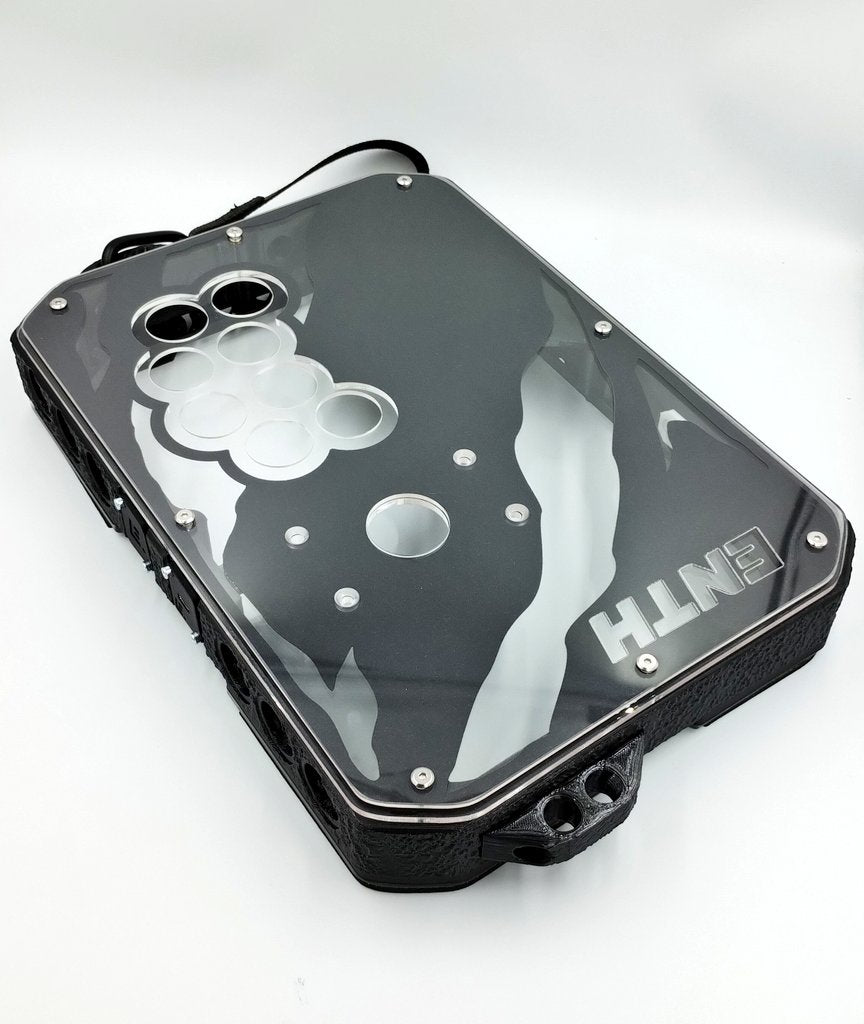
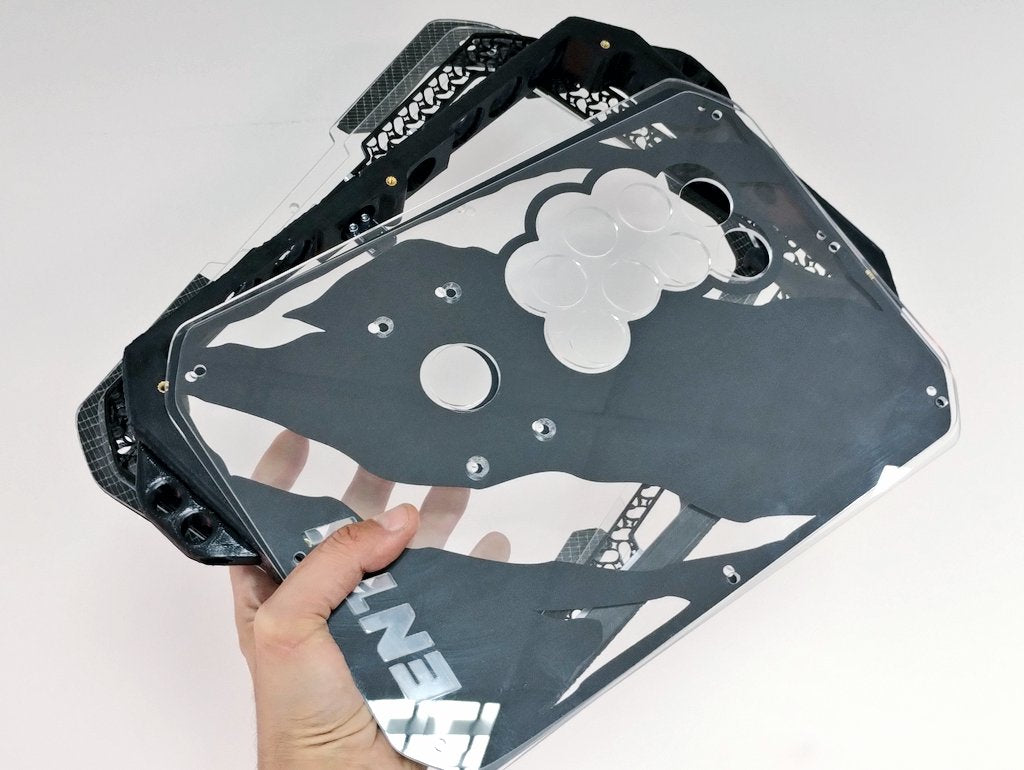
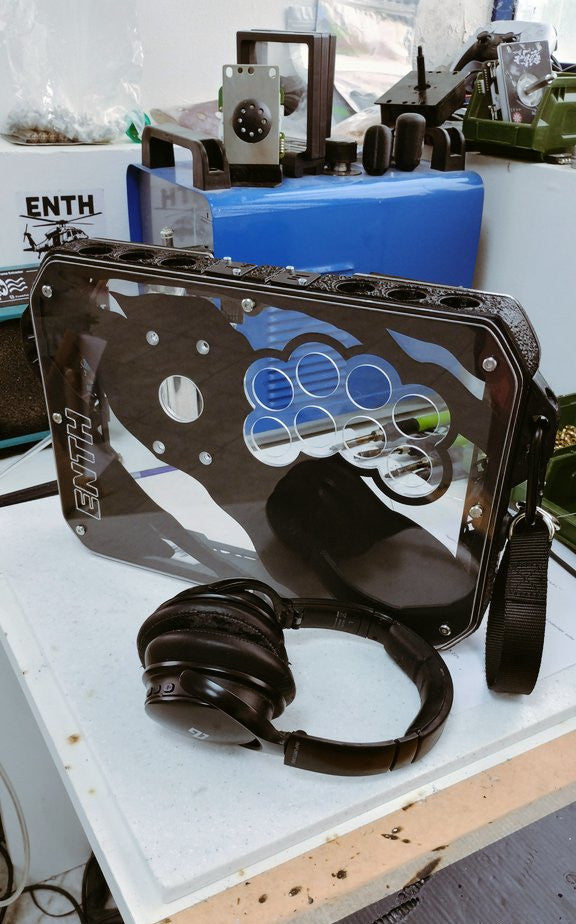
Superb compact arcade stick; the combination of ENTH components make it a joy to play with; the 4+2+2 layout is a good fit for SF6.

The Murakumo Aluminum JLF/JLX Shaft is super light and perfect with the lightweight ENTH toppers. A super high quality product. All the of ENTH products I have tried (30MM KRM Buttons, hollow balltop, and shaft cover) have been incredible and are super high quality products. I would absolutely buy again as they are 100% worth the money. Thanks again.
Fantastic buttons and service
The ENTH KRM30 Buttons are an excellent fit for any type of Stick or Leverless player. They are easy to install and even work great on non-even plates. Their surface has a nice grainy feel to it which i really enjoy. And they come from Italy, which is great for European players like me so the shipping cost is very affordable. The ENTH KRM30 are a bit costly especially when buying in bunches but quality has it's Price. Overall these buttons have a great feel ate easy to use and are also very available for Europeans. I'd rate them a solid 5/5 and greatly recommend them to anybody who wants to have a better feeling for the hands when playing Fighting games.
Im surprised by how much I enjoyed these buttons
Very responsive and quiet compared to the previous stock buttons I used

Aesthetics = 5 star
Texture = 5 star
Weight = 5 star
Shape = 5 star
This is my favorite top, Im using it on 2 different levers. Will buy again! Thank You Fulvio bro
Highest of quality.
Awesome feeling top! Light and slightly rougher in texture making the grip so much better.
Collections
-

MURAKUMO CORP.
STYLISH, HIGH QUALITY ACCESSORIES, DIRECT FROM JAPAN